
Do you have a Telehealth visit coming up with a patient?
Please refer to the following tips to make sure you are properly set up for your Telehealth visit.
Contents
- Supported Devices and Browsers
- Getting Started
- Provider Telehealth Tips
- Audio and Video Setup
Having trouble? Click here to test your device
Device & Browser Compatibility
To ensure that you can successfully join a Telehealth visit, please verify that you are using a compatible device and browser.
 Provider Overview Video:
Getting Started:
1. Confirm the Audio and Video works on your device for your Telehealth Visit.
To make sure you have a great televisit with your patients, you’ll want to make sure that the camera and microphone on your device are set up and ready. Here’s a quick link that will verify whether your browser has access to the camera and microphone:
https://networktest.twilio.com/
If you don’t see a pop up asking for permission to access the camera and microphone or experiencing other issues, click here to learn how to enable your device.
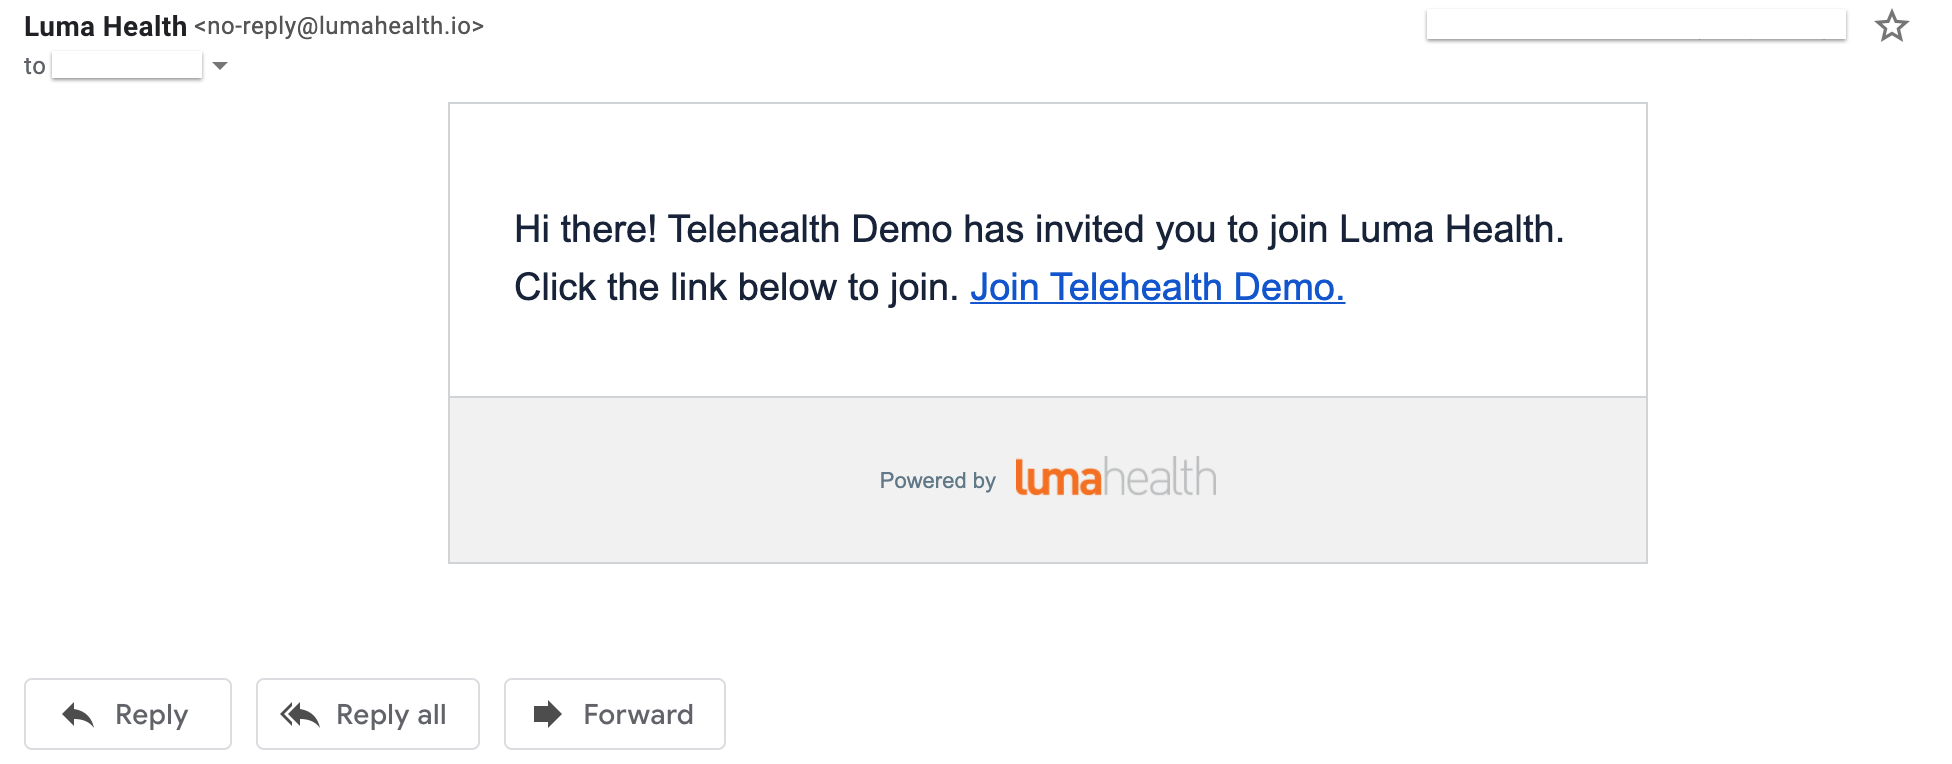
2. Providers will receive a welcome email, where they will need to create their password to log in. (Check Spam if the email is not received).
3. Once logged in, providers can view their schedule and launch appointments by clicking "Join Video".
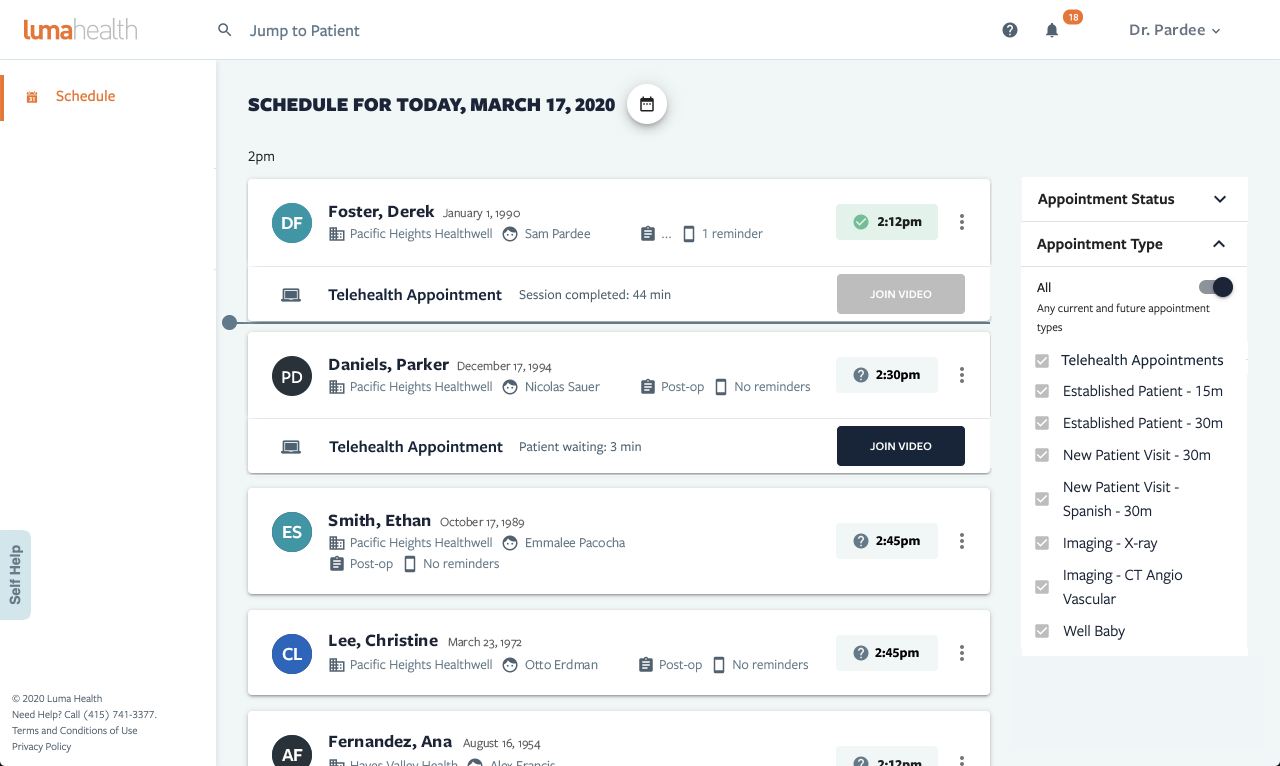
4. Clicking the "Join Video" button will launch the video screen for you to begin your appointment once your patient has arrived. 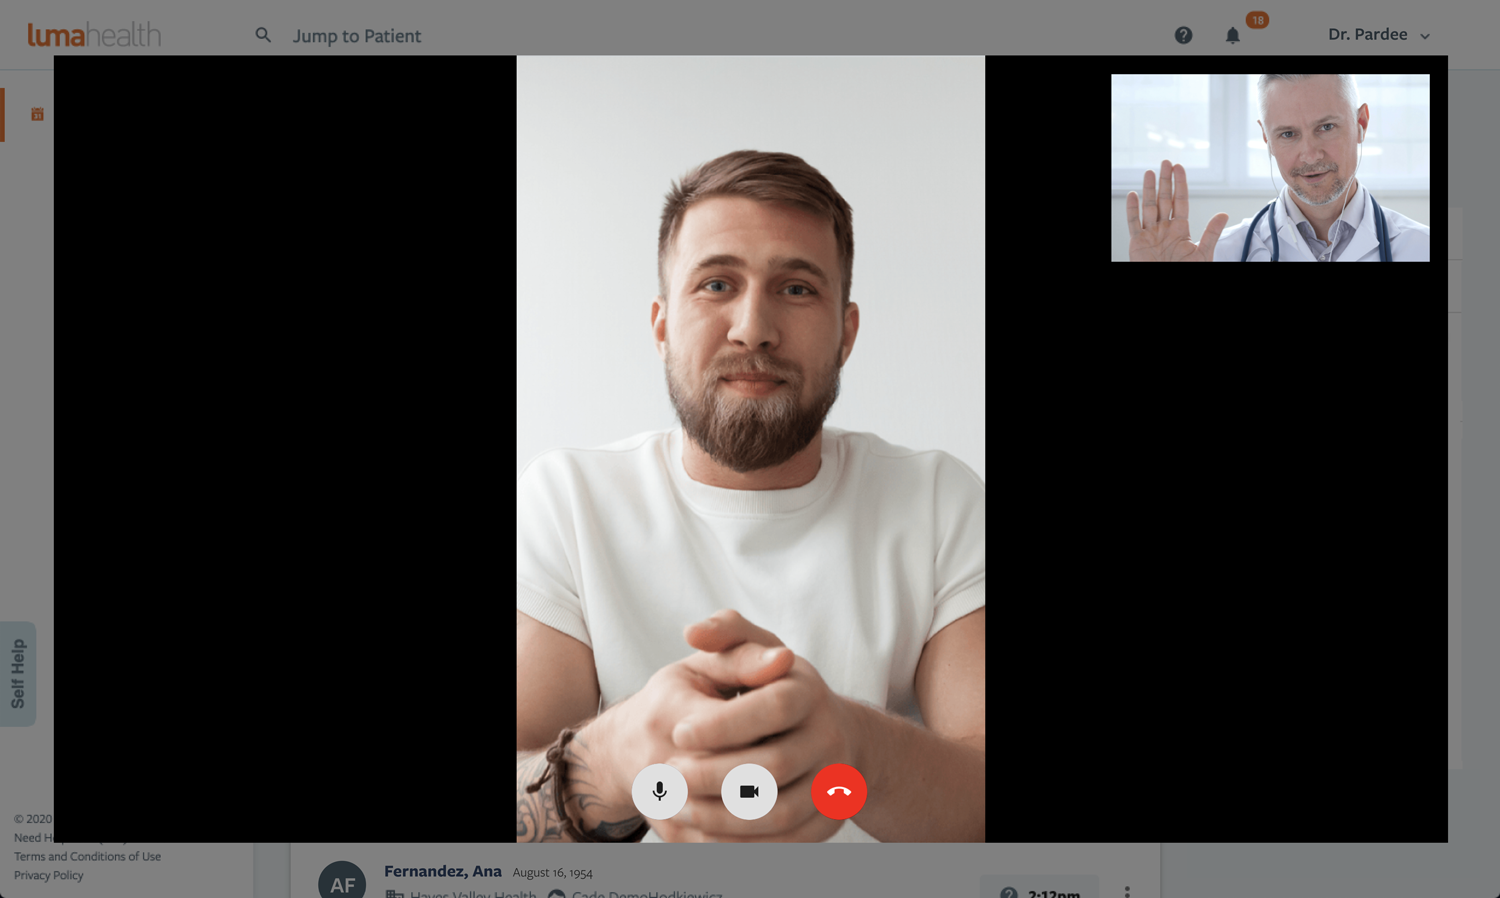
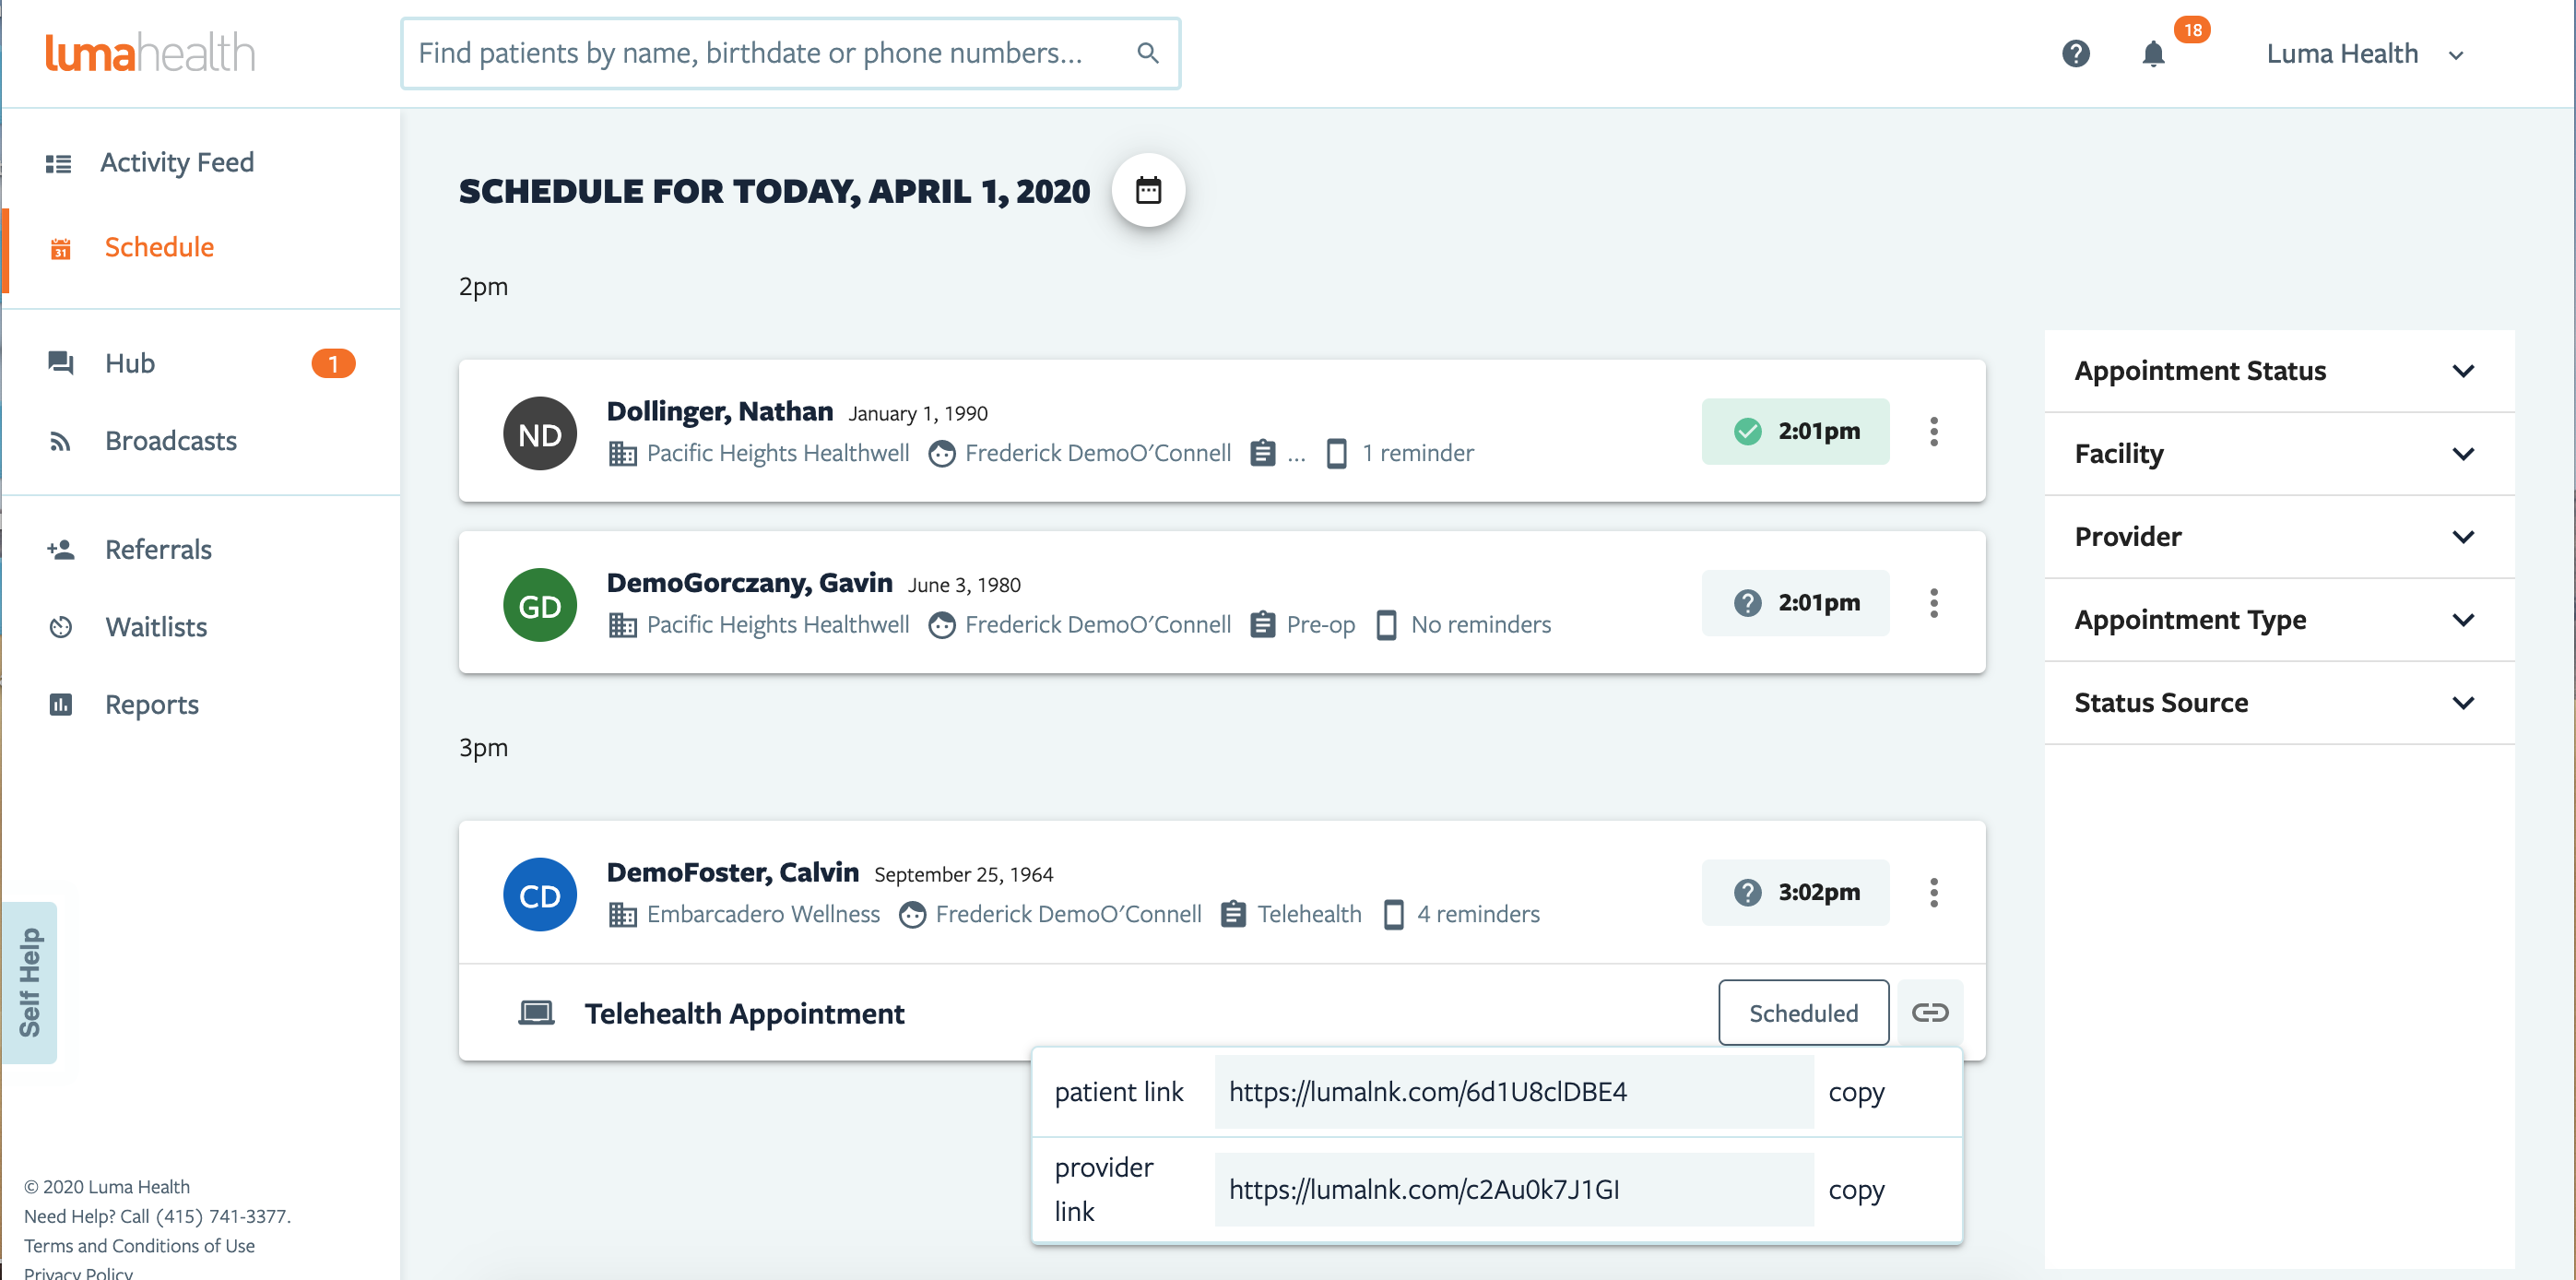
5. Providers can click the 3 dots next to the appointment time to jump to the patient's profile to Chat with the patient.
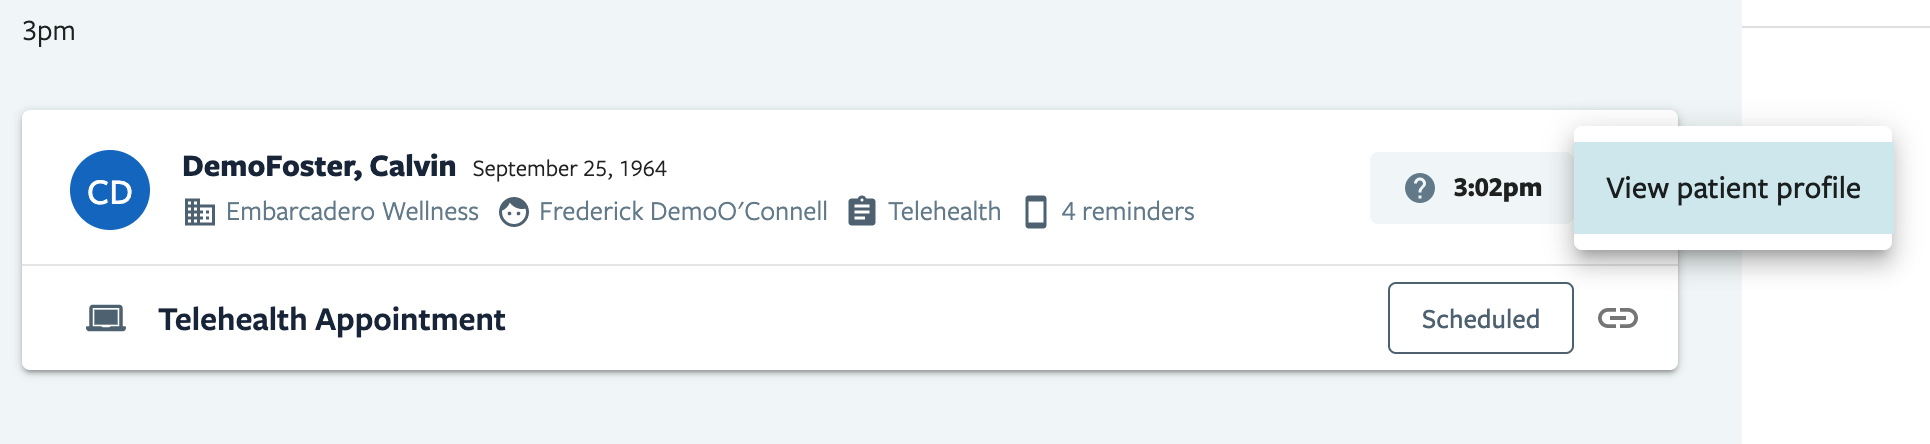
6. Also, if you click the link next to the "Join Video" button you will have access to the links for the appointment if you need to use them to help the patient connect.
Provider Telehealth Tips
When a Telehealth appointment is on your schedule, Providers will receive two reminder messages, 30 minutes and 5 minutes prior to the appointment time to the email that they set up in the first section. Clicking this link will send the provider to their Luma Schedule View.

In the Schedule View, when the appointment time has arrived, simply click on the 'Join Video' button to start your Telehealth Appointment.
Desktop Chrome:
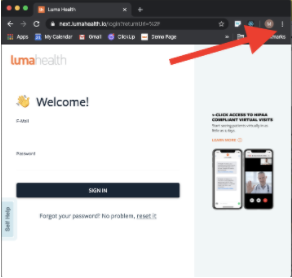
1. Make sure you are not incognito mode.
2. Open Chrome and select the Chrome menu, represented by three vertical dots in the top-right corner:
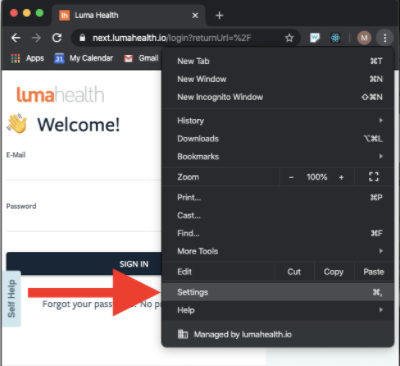
3. Select Settings:
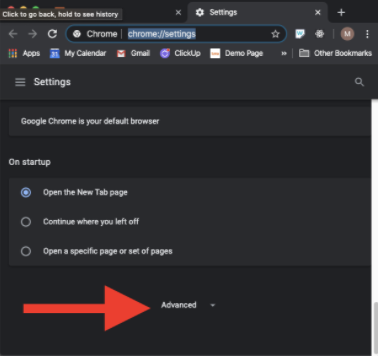
4. Select Advanced at the bottom of the page:
5. Under the Privacy and security section, select Site settings: 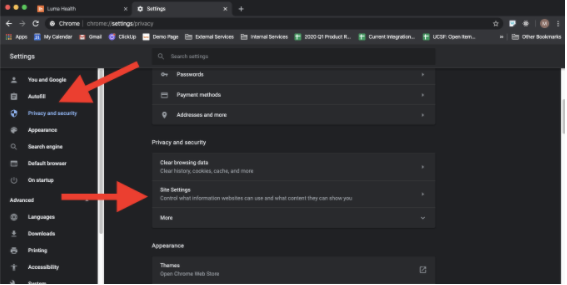
6. Select either Camera or Microphone to access either setting: 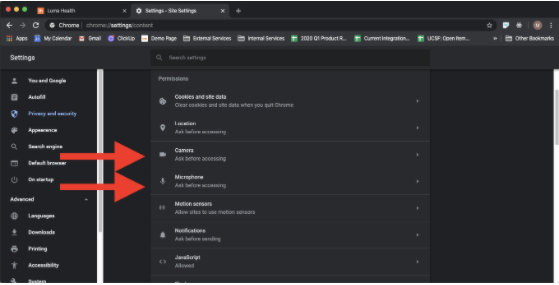
Desktop Safari:
1. Make sure you are not in private mode.
2. Click on Safari → Preferences
3. In the websites tab, make sure you have “When visiting other websites:” set to “Ask”. You can use “allow” but for security, we generally advise people to select ask, so that a prompt will come up requesting permission on a per website basis:
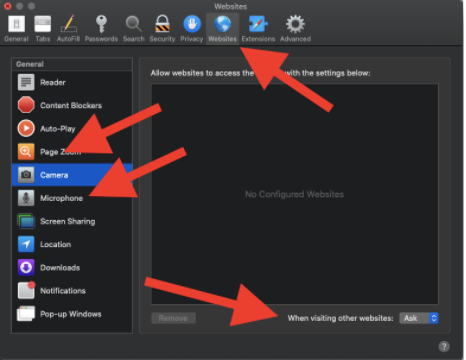
4. If Luma Health is under either Camera or Microphone, you’ll want to make sure it’s checked with permission.
On Tablet - Safari:
1. Make sure you are not in a private tab.
2. From the settings menu, scroll down to Safari:
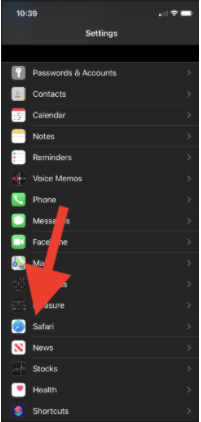
3. Scroll down to Camera / Microphone:
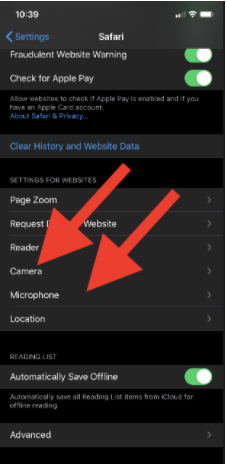
4. Under Camera / Microphone, select “Ask”
On Tablet - Chrome:
1. Make sure you are not in an incognito tab.
2. To the right of the address bar, tap More ![]()
![]() Settings.
Settings.
3. Tap Site Settings:

4. Tap Microphone or Camera:

5. Make sure that both microphone and camera are toggled on:

